BadgeMaker Design Toolbar: Shapes & Images
Thank you for choosing BadgeMaker, this post explains more about using the shape and image tool in BadgeMaker Design when creating your card design.
Step 1. First step of your card creation is to choose a background
Open BadgeMaker Design and start a new card design. The next step of creating a card design is to create a background. Choose a blank background or use the shape or image tool to create a background. For the card design in this blog we use an image as background.
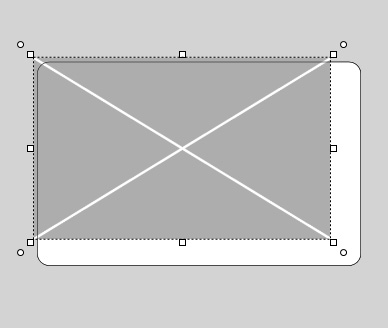
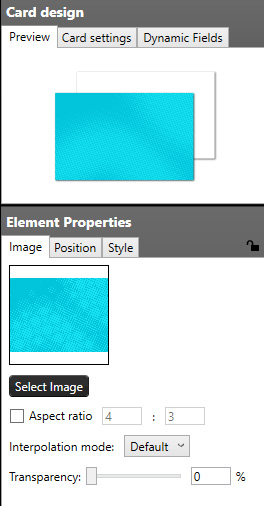
Select the Image tool and then click on the card on the canvas. Resize the image-element to cover the card. Now go to the element properties and select an image. Click on the “Select Image” button, select the background image for your card design and click the “Open” button. When your image has the correct size and you do not want the image to stretch, check the aspect ratio box. This will keep the original ratio of the image intact. If you want the same background image on the backside of the card you can copy and paste the image.

Step 2. Add your company logo to the card design
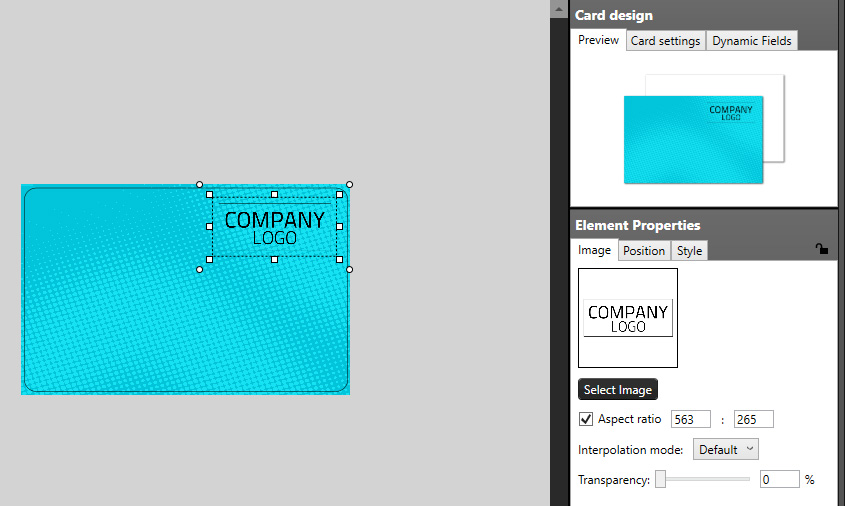
Add a logo image to the front of the card, so the card represents your companies identity. Click the image tool again, click on the card and select your logo image. Do not forget to select the aspect ratio box. Resize the logo to fit the card using the handlers at the corners of the image.
Step 3. Use the shape tool to create a shaped layer
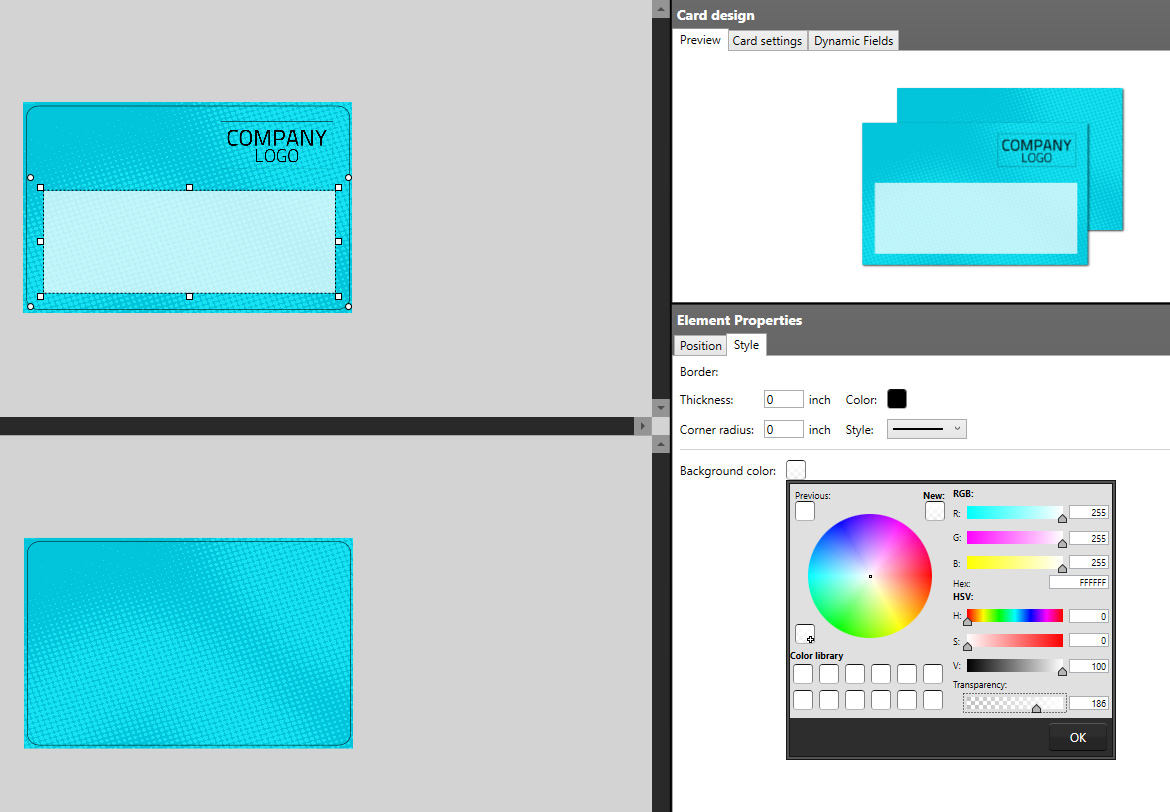
Now use the shape tool to create a lighter area as part of the design. Click on the Shape tool, click on the card and resize the shape element to your liking.
To adjust the color and border go to Element properties and click on the Style tab. Set the border thickness to zero. Click on the background color to select another color or change the transparency of the shape.
We will make this shape slightly transparent and click on ok.
A great start of a card design using shapes and images.

