BadgeMaker Identity: How to add a record manually
Thank you for choosing the employee badge maker software: BadgeMaker. This post shows how to add a record manually in BadgeMaker Identity. Records are single data rows that contain information of one person. There is a button for adding and deleting a single record manually. To add multiple records, you can choose to import an Excel file.
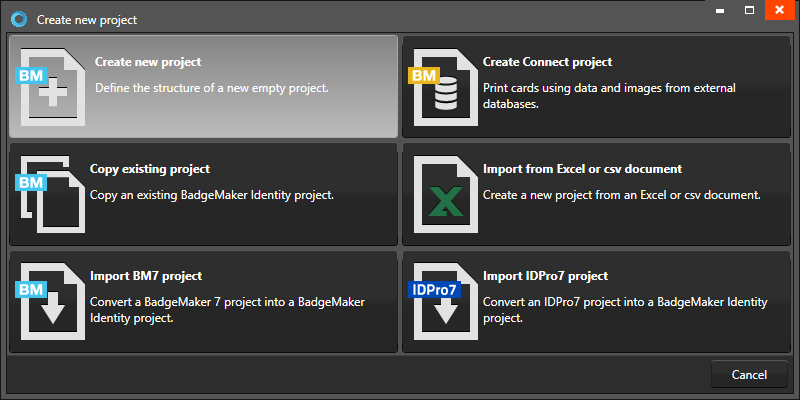
First step is open a existing project in BadgeMaker Identity.

Step 1. Add a new record
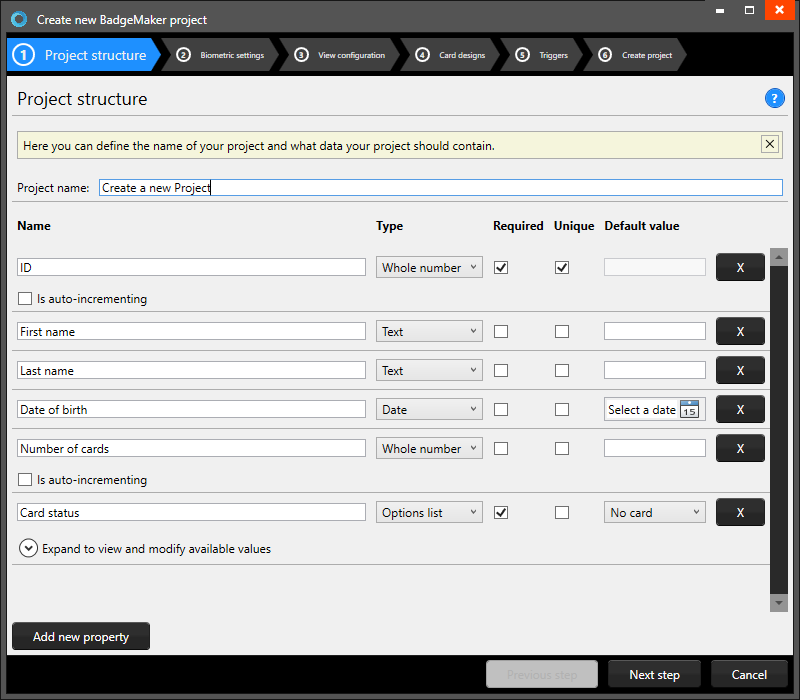
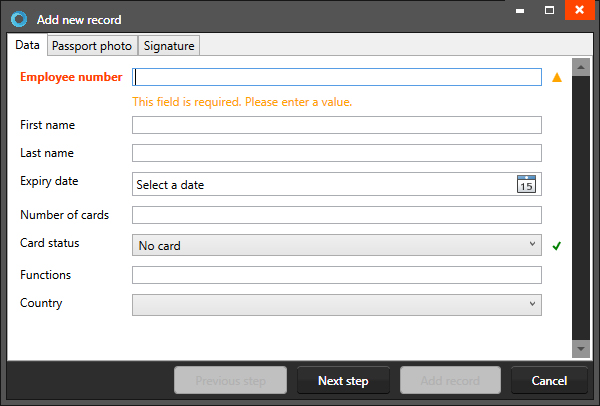
Click on the new record button in the Quick menu, the pop-up window with entry form allows the user to add data and Capture a Photo and Signature.
Enter the needed information for each field and click on the “Next Step” button to add a photo.

Step 2. Add a photo to the record
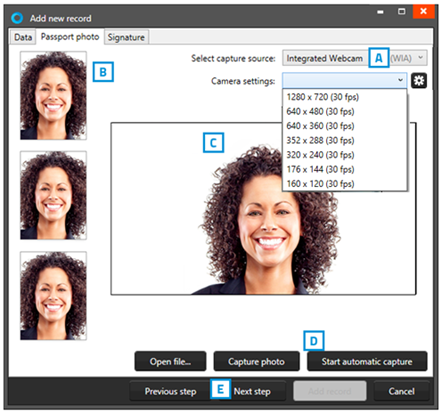
A. Select the source of camera you want to use from the drop-down menu. You can choose to use your webcam or a TWAIN camera that is installed and connected to your computer.
B. Click on the “Start automatic capture” button. The application will detect your face automatically and take three pictures. You can select one of the three pictures to add to the new record.
C. The Photo functionality will show you the camera view.
D. Click on the “Capture photo” button. The Photo functionality will show you the camera view. You are also able to upload an image from your computer. Click on the “Open file…” button to select an image from a file.
Step 3. Add a Signature to your new record
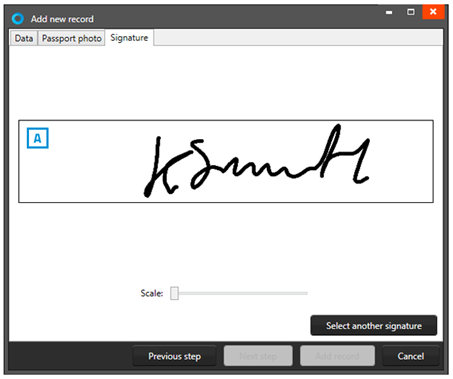
Use a connected signature pad to write a signature into this field or select a signature from file. Scale the signature using the slider.
We have added all the needed data for this record and can now add the record to this project. Connect the record to a card design and print the card in the employee badge maker.
